
Things got a lil’ sentimental yesterday. I came across an old photo of one of the first circuit boards I ever built:

It’s 2009. The internet promised that if I connect a bunch of little bits together as in this pdf 1, I could pipe my guitar through it and it would sound just like the Tube Screamer.
You could freehand simpler circuits with a sharpie on a copper-clad board, or you’d find someone with a laser printer and transfer the circuit layout to the copper with a flatiron. A solution of iron perchlorate etched away the exposed copper, leaving behind the traces where the sharpie was.
It was brutal. Messy. It never worked. Until, Jesus Christ, it freaking did. High from the nasty etching fumes and the overdrive crunch from the guitar amp, you couldn’t escape the realization. This is what you like to do.
It’s now 17 years later. Amateurs like me order custom multilayer circuit boards over the internet for a few bucks. We 3D print stuff right at home. Last year, I learned that services for 3D printing metal and resin are within reach of nerds doing it for fun.
Bend Sheet Up
Take a thin sheet of metal. Laser cut and fold it into shape. You now have a mechanical part at a tiny fraction of the cost of machining it out a metal block.
Like making circuit boards, this process used to only be economical through scale. Set up the machines and churn out hundreds of the same part.
Like making circuit boards, this is no longer true. We can now order five of something out of sheet metal. It can cost as little as a cup of coffee.
Designing for Sheet Metal
I’ve had this gorgeous Noritake GU128x64d-7000 VFD display for years. It’s time to give it a nice home and fire up the ESPHome driver I wrote for it.

There are some rules. For example, JLCCNC’s guidelines define the bending curve as a function of the material thickness. For a 2.0mm sheet, that’s a 3.7mm outer radius.

The bending machine works like this:
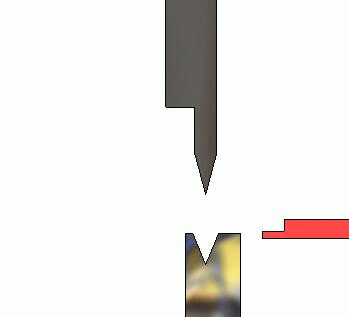
The press needs a minimum edge-to-bend length so the piece is supported over the slit. Holes require some clearance from the bend so they are not deformed.
There are also (implicit?) global constraints. From what I understand, you can’t bend a sheet four times into a box. The piece would interfere with the press.
SendCutSend looks great, but it’s US-only. JLCCNC and PCBWay ship globally. The pieces you’re seeing here are from JLC.
The Outcome

I ordered these 3 sets with different finishes out of 2 mm aluminum. From left to right:
- White powder coated (matte)
- Red anodized (matte)
- Red powder coated (glossy)

There is some expected flex for such a long and thin piece. The dimensions change slightly depending how much I tighten the case together, but here are the measurements I took after assembling:


I was overly generous with a 2.0 mm clearance between the screen and the case. It looks I could’ve gotten away with 0.5 mm instead.

There is a teeny belly of less than half a millimeter on the short side. It’s only apparent when placing a flat object on top of it:

Cost

A powder coated and laser engraved set cost me US$40 plus shipping.
It still gets a lot cheaper with scale. A simulated order of the powder coated main body:
| Quantity | Total Price (USD) | Unit Price (USD) |
|---|---|---|
| 1 | 11.32 | 11.32 |
| 10 | 42.90 | 4.29 |
| 100 | 344.00 | 3.44 |
Photo Dump


Cutting the front acrylic
-
It’s still live!! ↩