“A man with two watches is never sure of the time.” Well, I’m building my fifth, and I will have you know I’m unsure of a lot more than just the time.
Perhaps a better man would justify this recurring urgency to keep time as watching over the most precious resource there is. Though I doubt that same man would spend weeks building clocks out of vintage Japanese vacuum fluorescent displays.
Anyway. It’s clock o’clock, my friend.

In the Nipponbashi Den-Den Town district of Osaka, I walked into one of the shops I’d pinned on the map before the trip. Shelves of Engineer crimpers and Hakko soldering stations in the Silicon House tempt even the most frugal nerd. An endless sea of switches, ICs, kits, tools where I’d happily drown.
I remember thinking this is what a kid must have felt like walking into Radio Shack in the ’80s. Except I’m pushing forty and my parents weren’t there. I had no one to curb the ‘lil thrill and terror of maybe, just this once, temporarily suspending my usual financially responsible self.
I emerged out of the three-story Via Crucis a different man. On my way out, I snagged this single-serving portion of neatly packaged NEC LD8035 VFDs. I didn’t know exactly what they were, but how could you not.

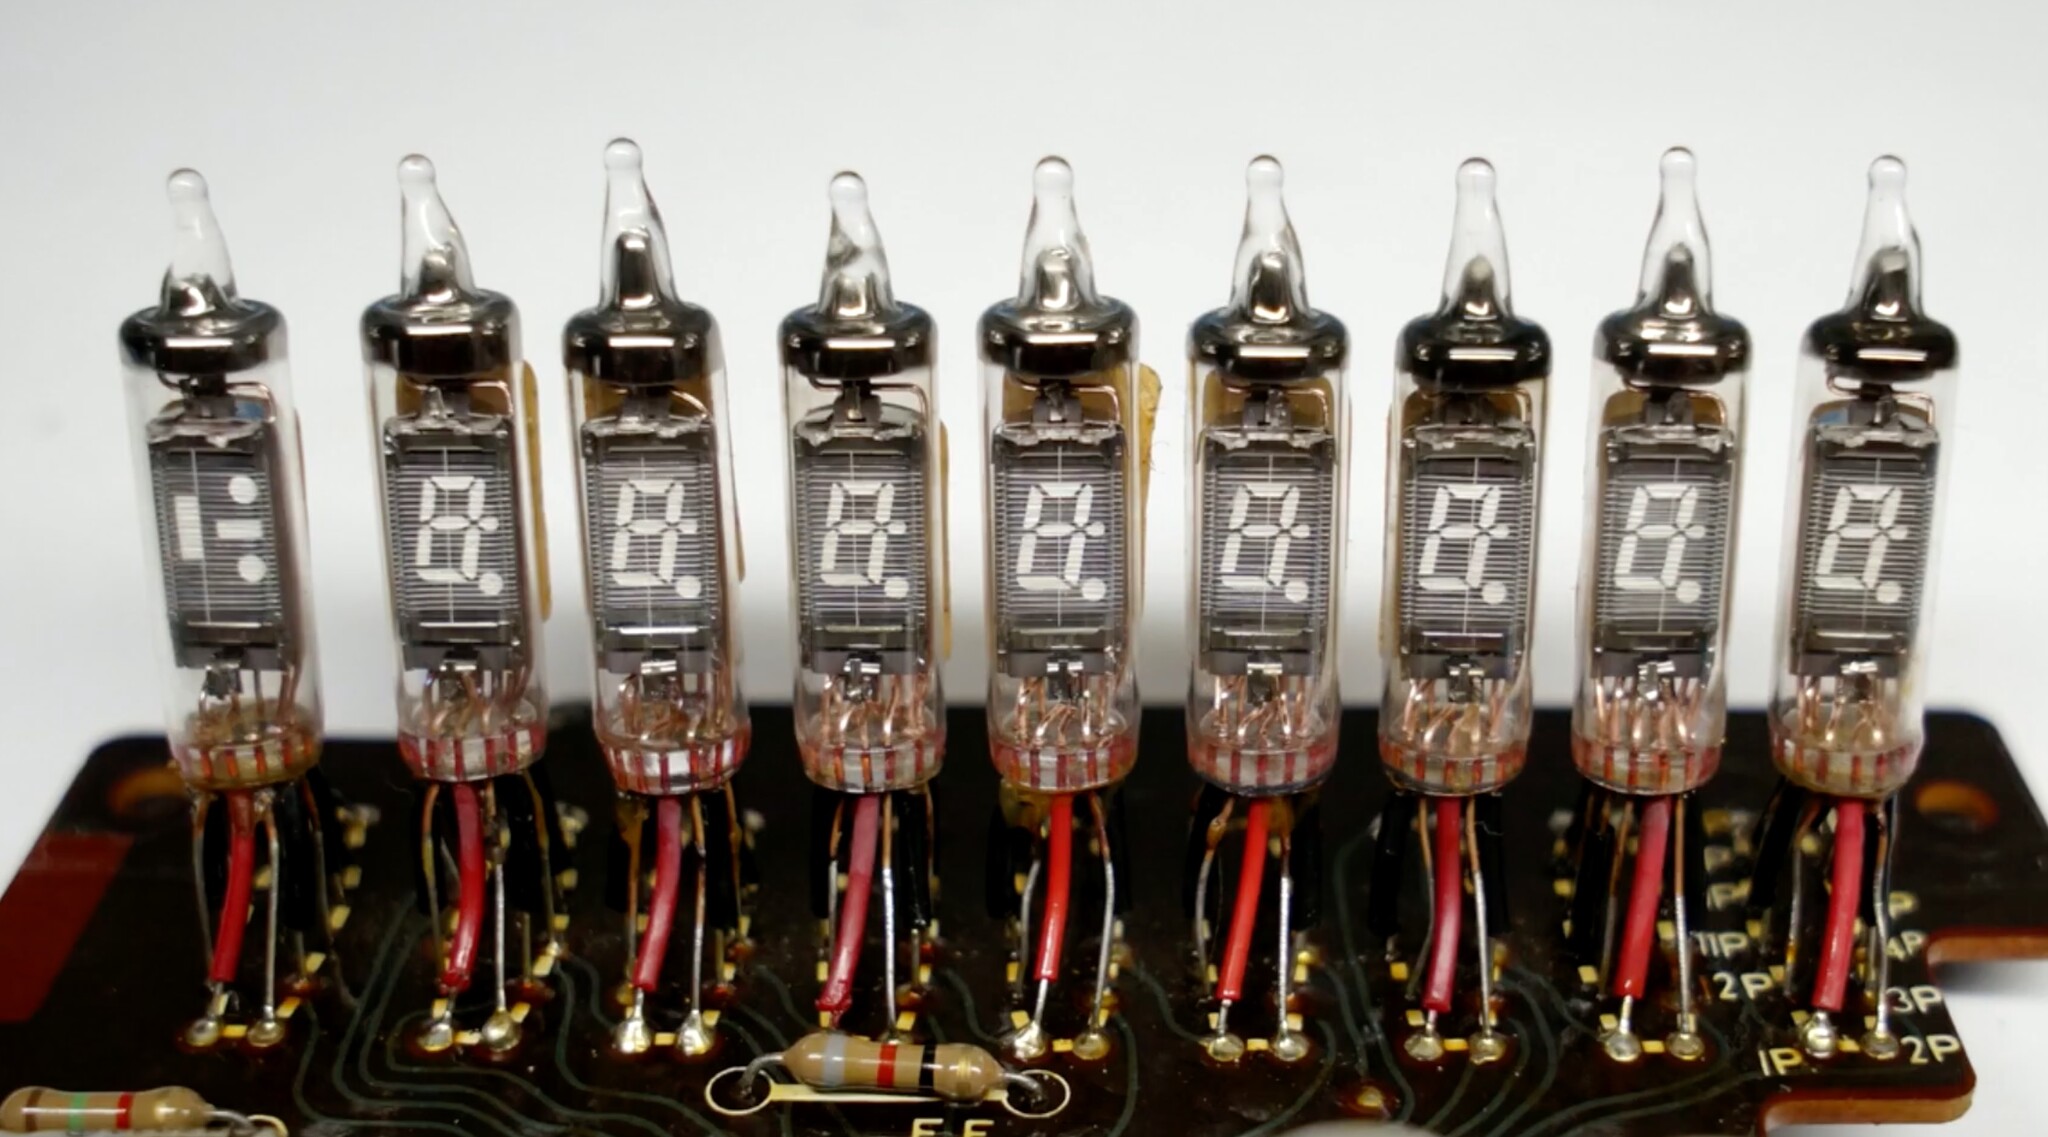
Back home, I learned from madrona.ca that LD8035s are inside the Toshiba BC-0802 calculator from 19721. ne.jp teaches how to drive them:
- The filament (or heater) emits electrons when
26mA@0.8Vruns through it - The grid allows or blocks the flow of electrons to the segments with
12V - The segments light up when electrons hit them, and also take
12V
I had some TBD62783A high-side drivers to switch 12V on grid and segments. The breadboard confirmed the setup:

I whipped up a PCB in two parts, connected by two 8-pin headers. On the visible top half, I wanted clean, age-appropriate DIP-style ICs and through-hole components. That’s the lipstick. On the bottom pig half, fighting the urge to overcomplicate things, I hid a bunch of eyesore, ready-made modules I already had: an ESP32-C3 Supermini, a dangerously cheap 12V USB-C trigger board and a 3.3V buck converter.

There are 9 segments and 4 grids to control. A cheeky SN74HC595 shift register comes between the ESP32-C3 and the TBD62783A segment drivers. Then there are enough GPIOs left over to directly steer the grids’ drivers.
I learned that multiplexing is usually done by switching the grids across the digits: while segments of all digits are connected together, quickly switching each grid on/off creates the illusion of all displays being lit at the same time.
The schematic has the details2. A ld8035_clock component for ESPHome (and its usage) connects it to Home Assistant.

You can see the little tungsten filament in the macro shot. It glows red in action, shooting out electrons. The grid mesh is the gate: tie it to 12V and it accelerates the electrons through, smashing them onto the segments in the back.

I read the filament can heat up to 600°C, but my thermal camera is hopeless against the tiny wire.


There is a particular iconoclastic anachronism in stacking ’70s tubes on top of a WiFi chip, juiced by USB-C. It reminds me of a recent conversation with a friend about Brazilian pizza3. To the purist, heresy. To the rebel, the pleasure of knowing nothing is sacred. Either way, goddamn, it tastes so good.

-
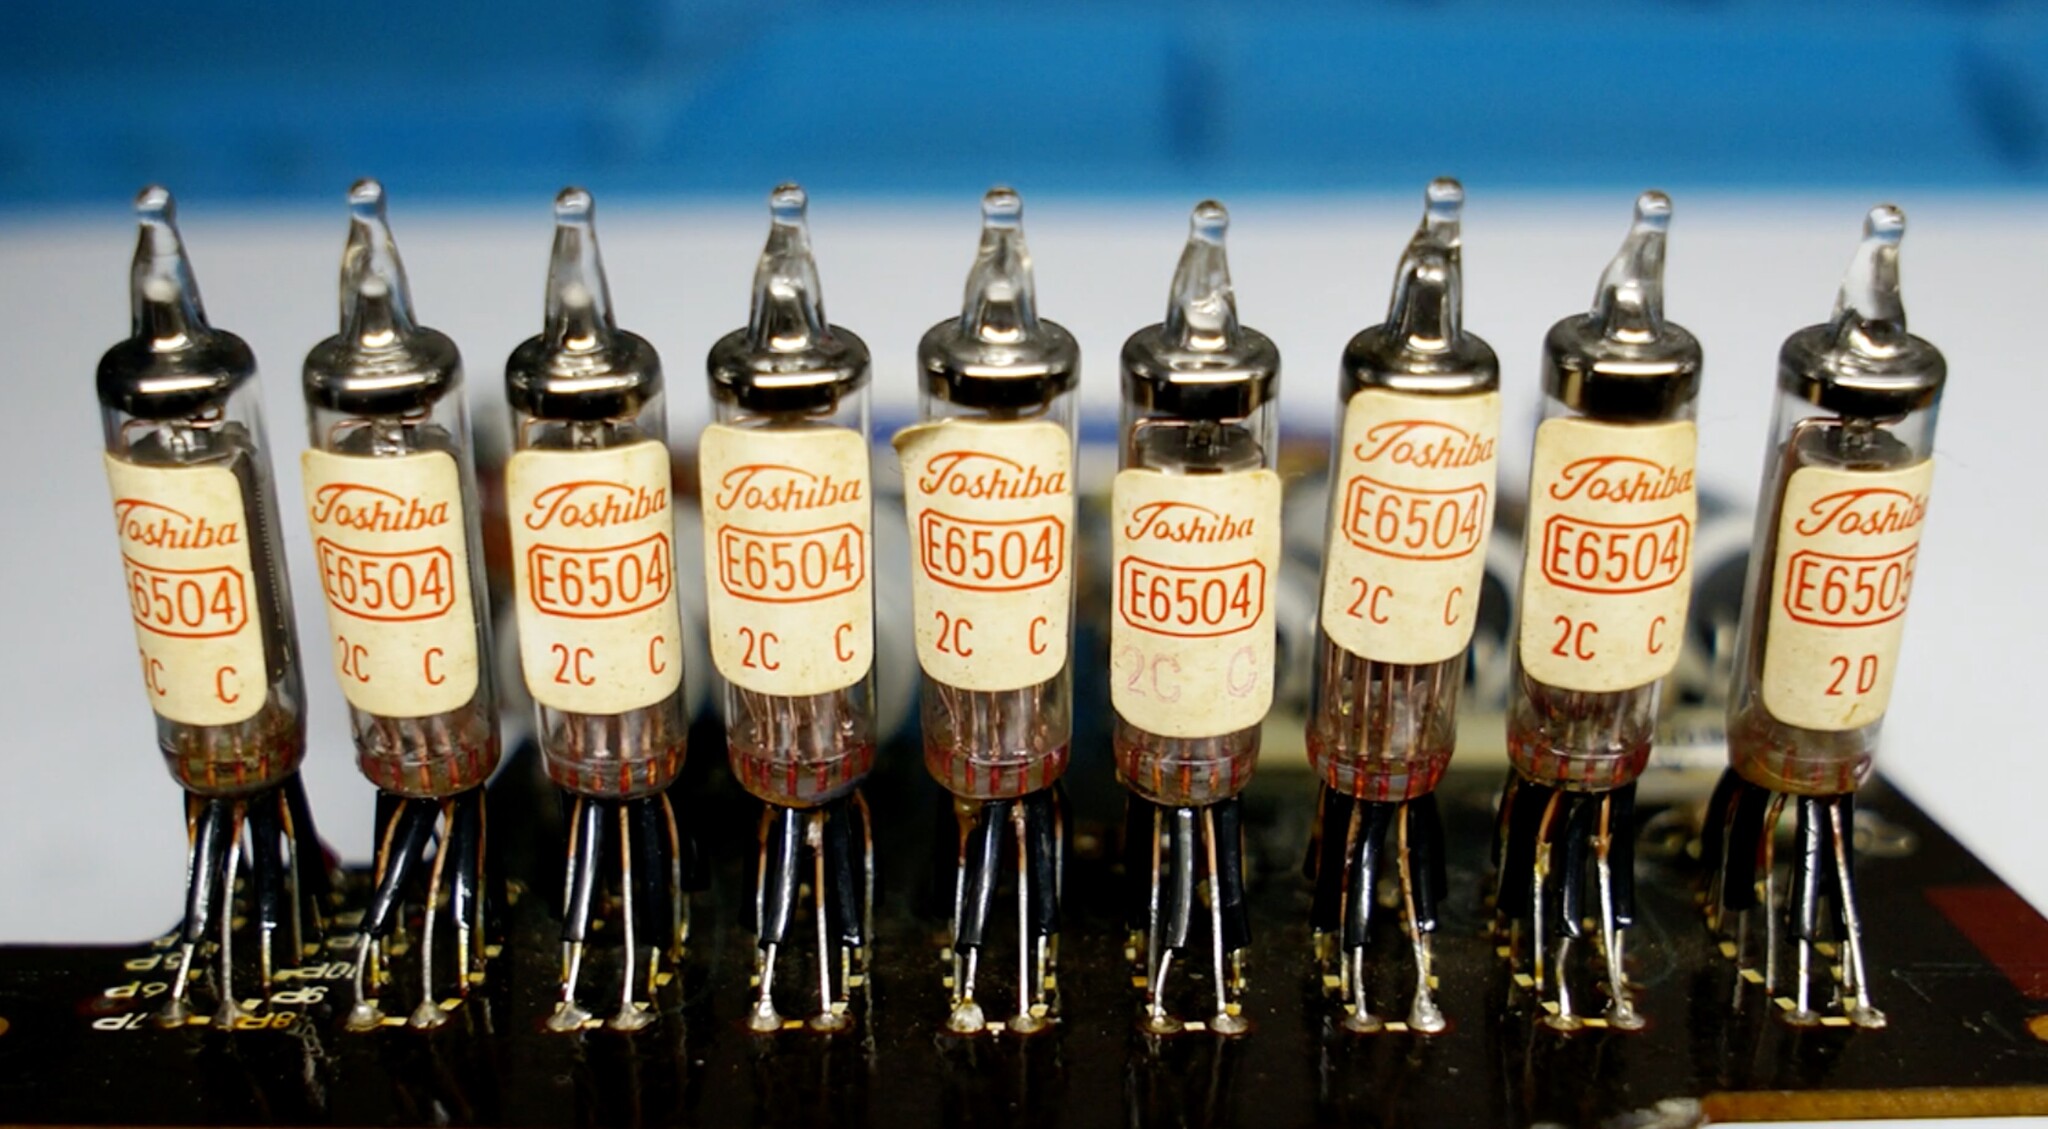
The plot is thicker still. In the BC-0802 teardown video by analo9 life, the tubes seem to be
E6504(front, back). madrona.ca says both tubes have the same dimensions and segments, and both were used in the BC-0802. ↩ -
I later fed the filaments’ ballast resistors with
3.3Vinstead of12Vas suggested in the cute packaging. Since I already had a3.3Vbuck anyway, this cuts the power consumption by a factor of 5. ↩ -
reddit.com/r/PizzaCrimes/search/?q=brazil&type=posts&sort=top ↩